Difference between revisions of "SSH client setup"
| Line 14: | Line 14: | ||
or <code>ssh username@login2.deepsense.ca</code> where 'username' is your CSID. | or <code>ssh username@login2.deepsense.ca</code> where 'username' is your CSID. | ||
| − | To simplify matters, you can set up [[ | + | To simplify matters, you can set up [[Your_Accounts#How to setup passwordless ssh|passwordless ssh]]. |
== Windows 10 == | == Windows 10 == | ||
Revision as of 17:04, 3 December 2020
The instructions for connecting to the DeepSense platform using SSH will be different depending on your operating system.
Mac OSX
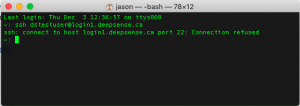
Remember, in order to log in to the DeepSense platform you also need to be connected via VPN to the Dalhousie campus. If not, you will see an "access denied" error.
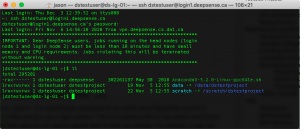
To connect on a Mac, you will need to open a terminal window.
Then you can simply type the command ssh username@login1.deepsense.ca
or ssh username@login2.deepsense.ca where 'username' is your CSID.
To simplify matters, you can set up passwordless ssh.
Windows 10
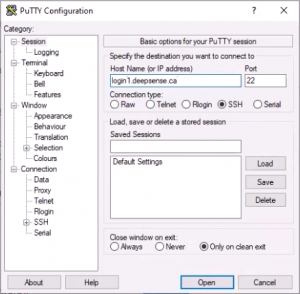
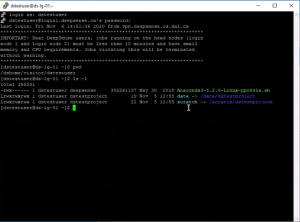
On a windows computer, there are several applications you can use to connect to the DeepSense platform. One such option is called Putty. This is a little more complicated than using the terminal on a mac, as there are many more options. The only ones you really need to fill in is the Host Name (IP address). Simply enter login1.deepsense.ca or login2.deepsense.ca. When it prompts you to "Login as:" enter your CSID, and then your password.


